Taylor Davidson · How to Take Photos Underwater
Underwater photography is much harder than it looks.
I grew up loving National Geographic, then Outside and a bevy of outdoors, nature, sailing, and backpacking magazines. I was always drawn to the photography, and particularly amazed by the underwater photography. While I’ve done a ton of outdoors and landscape photography over the years, I hadn’t had the opportunity to take photos underwater.
Until now. Preparing for a recent trip to Hawaii, I took a deep dive into the web to understand my options for taking photos underwater, and came up with a couple options:
- Waterproof disposable cameras. I used to always keep a couple waterproof film disposable cameras around with me for simple swimming and adventure shots (Fuji make a good one), but their historically poor quality just wasn’t going to be good enough for me for this trip.
- Waterproof digital cameras. There’s a couple rugged point and shoots that are made to withstand the elements, including going underwater. While not a viable option for diving, they work for snorkeling, swimming, and other lighter-weight endeavors. The Wirecutter covers rugged waterproof cameras and the pros and cons pretty clearly; in short, to get a rugged camera, you give up a lot in image quality. For me, and for $300-$400 dollars on a specific-use camera, that wasn’t for me.
- GoPro. If I already had a GoPro, I would have simply used a GoPro for underwater photography, simply for expediency’s case. But the GoPro camera quality isn’t up to par with some of the other options here, and the wideangle view isn’t what I wanted all my photos to look like. So I continued looking.
- Waterproof cases for DSLR / micro 4/3 The Wirecutter has a great review of underwater photography gear and tips, and it’s a great resource to understand how to get started. As I started to learn more about the need for extensive gear for diving, and the prices of the gear, including cases, lights, and more, it became obvious that for my limited usecase of 5-20 snorkeling, lake swimming, and ocean trips a year, I simply couldn’t justify the expense.
- Waterproof cases for iPhone. There’s a small selection of waterproof cases for iPhones that will allow you to take your phone into the water (Wirecutter covers them here), although none of them are real options for diving deep with your phone. For real underwater photography with your iPhone, the Watershot PRO Underwater Housing is solid; I bought one, and was pleased with how it felt, but ultimately decided to go a different way.
- Waterproof bags. Through a Lightstalking feature about underwater portrait photography, I learned about Dicapac and other waterproof bags. But for me, they seemed a bit too bulky and unweildy for snorkeling, and I wanted something that would be a bit easier to use, and would perhaps trust a bit more.
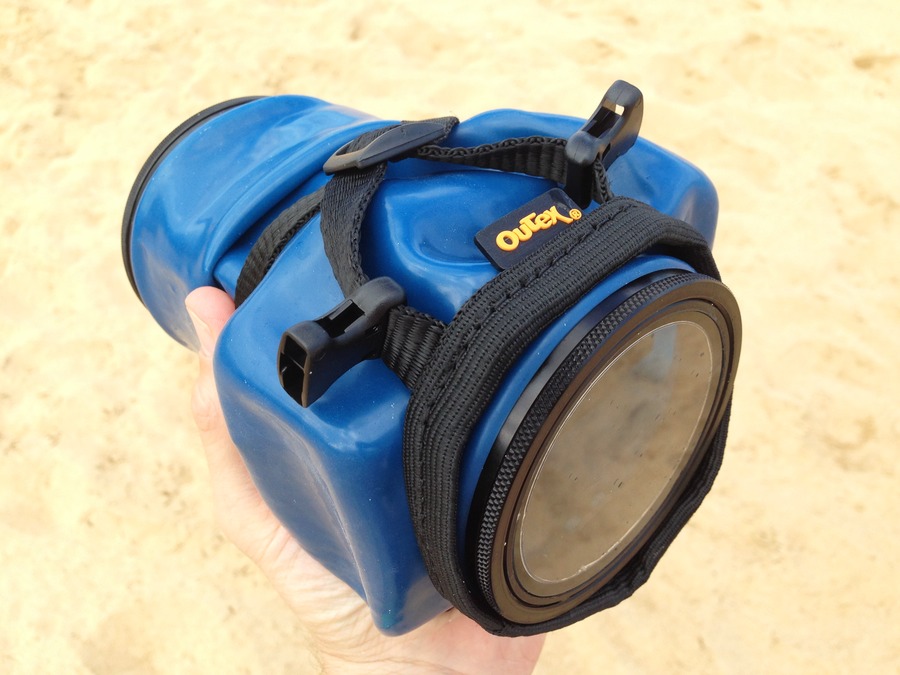
- Outex. Somehow I happened upon a Gear Patrol note about Outex, a former Kickstarter project that now has a full line of rubber waterproof cases for digital cameras. After reading a number of reviews to get a handle of others’ experiences with the Outex kits and how to use them, I was sold. Much less expensive than the hard-case waterproof cases, and easy enough to use out of water for bad weather, snow, mud, and other conditions, the Outex appeared to be a better solution for me to use not only for underwater photography in Hawaii, but for a wider range of activities throughout the year.
Paired with my Olympus OMD-E M5, it proved to be a good, easy to use, trusted, and effective solution for underwater photography.
But of course, the gear is only the start. The Wirecutter’s beginners guide to underwater photography was a great resource to help me understand how to shoot underwater. How to handle light, how to handle composition, how to handle exposure, all of these are a little different underwater which takes a bit of research and learning to understand. I’m still a beginner, but here’s a couple tips I picked up:
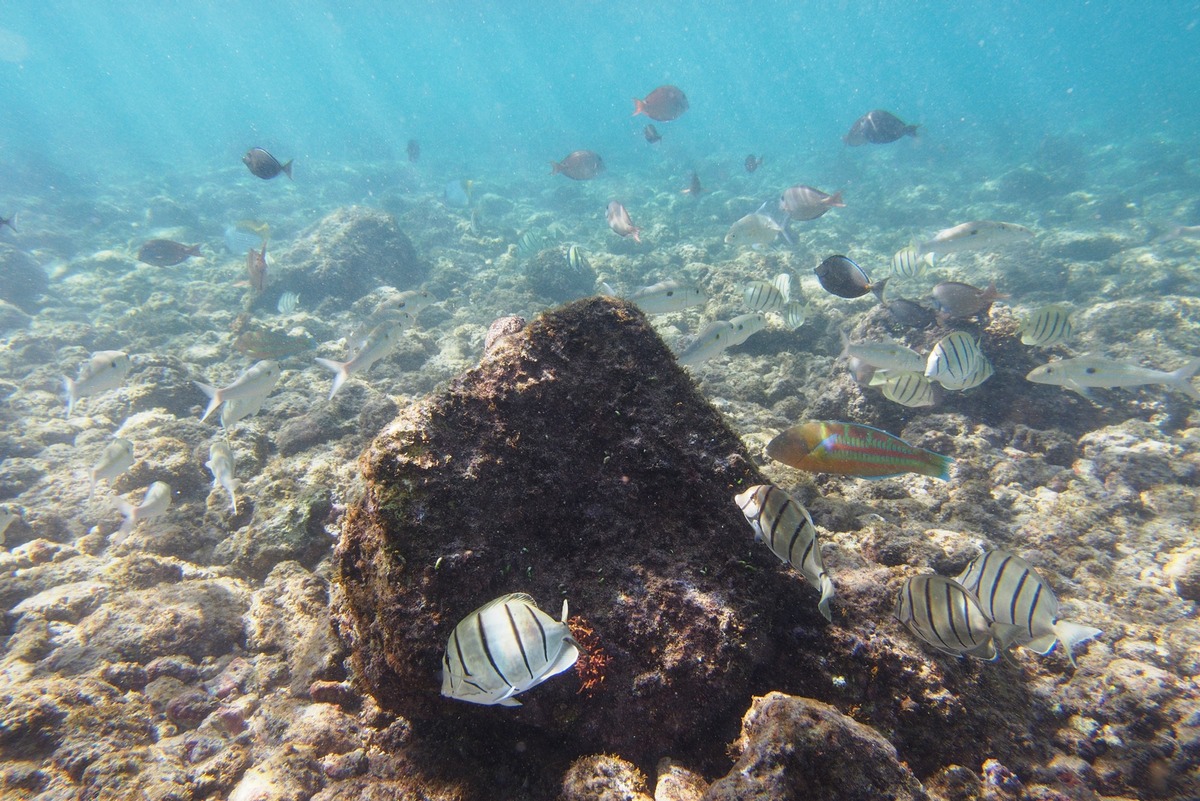
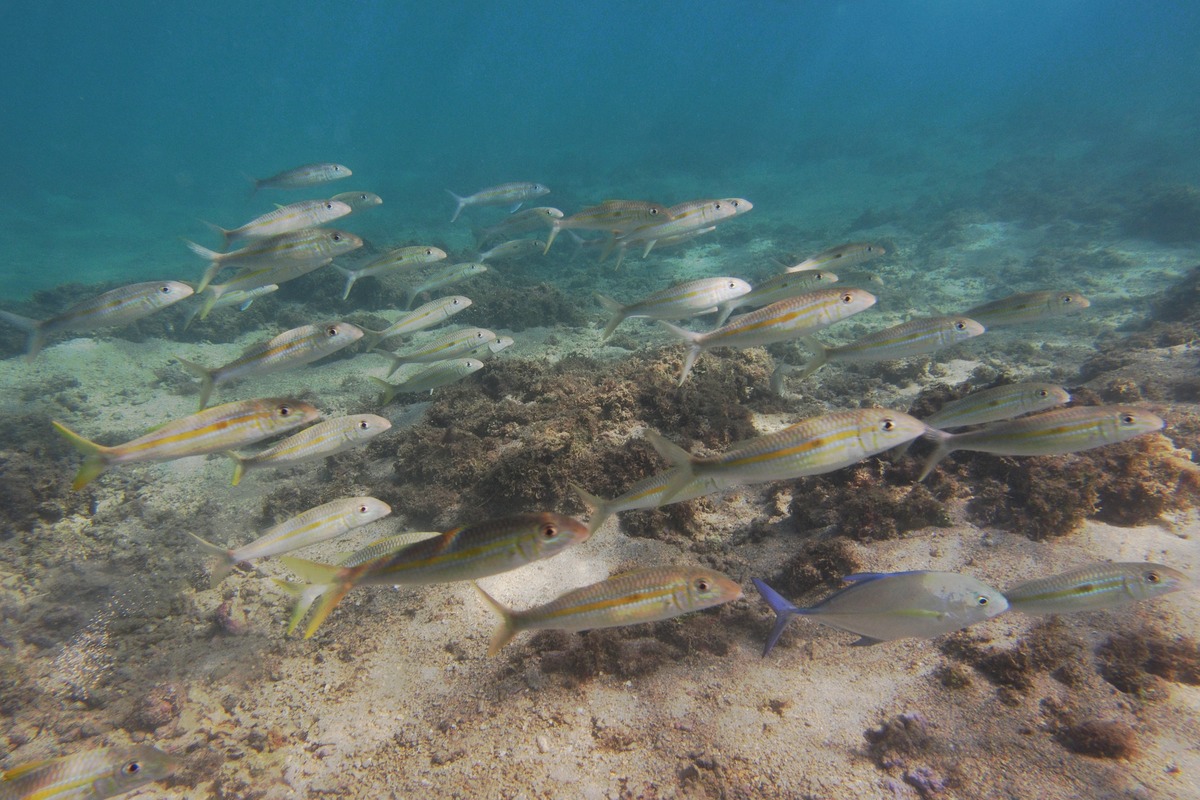
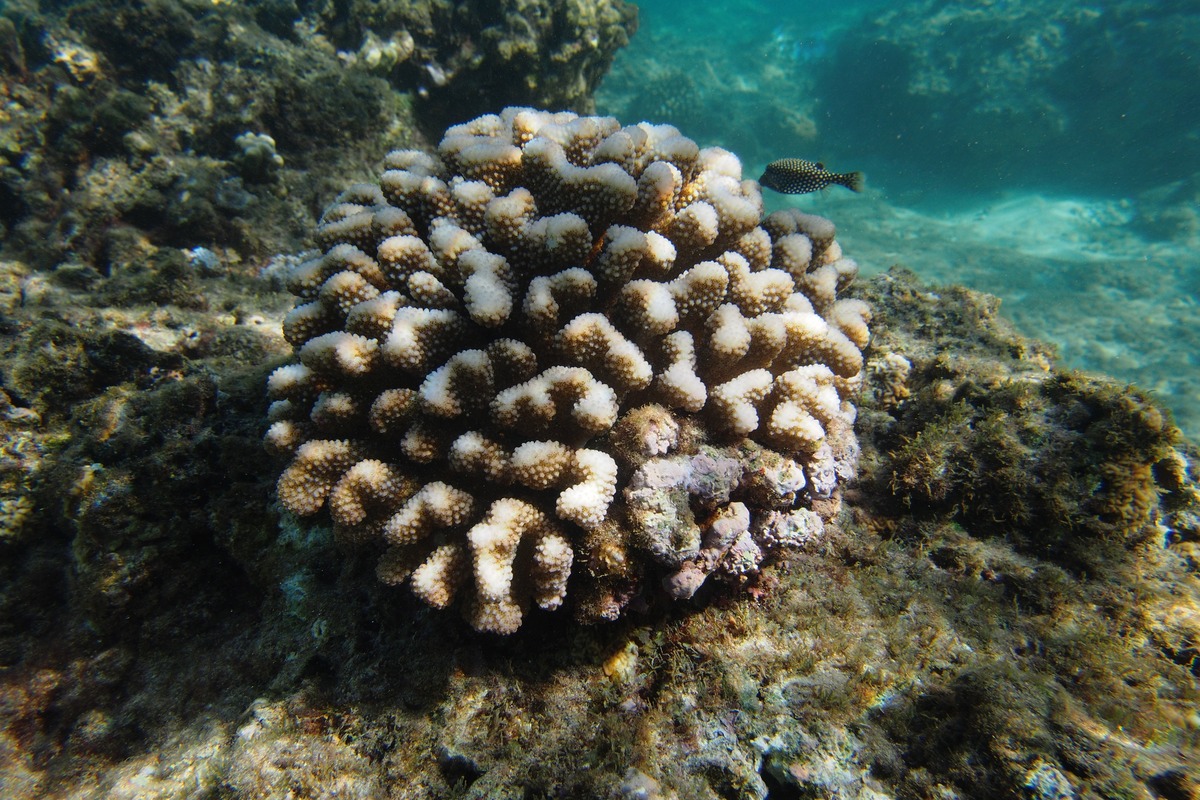
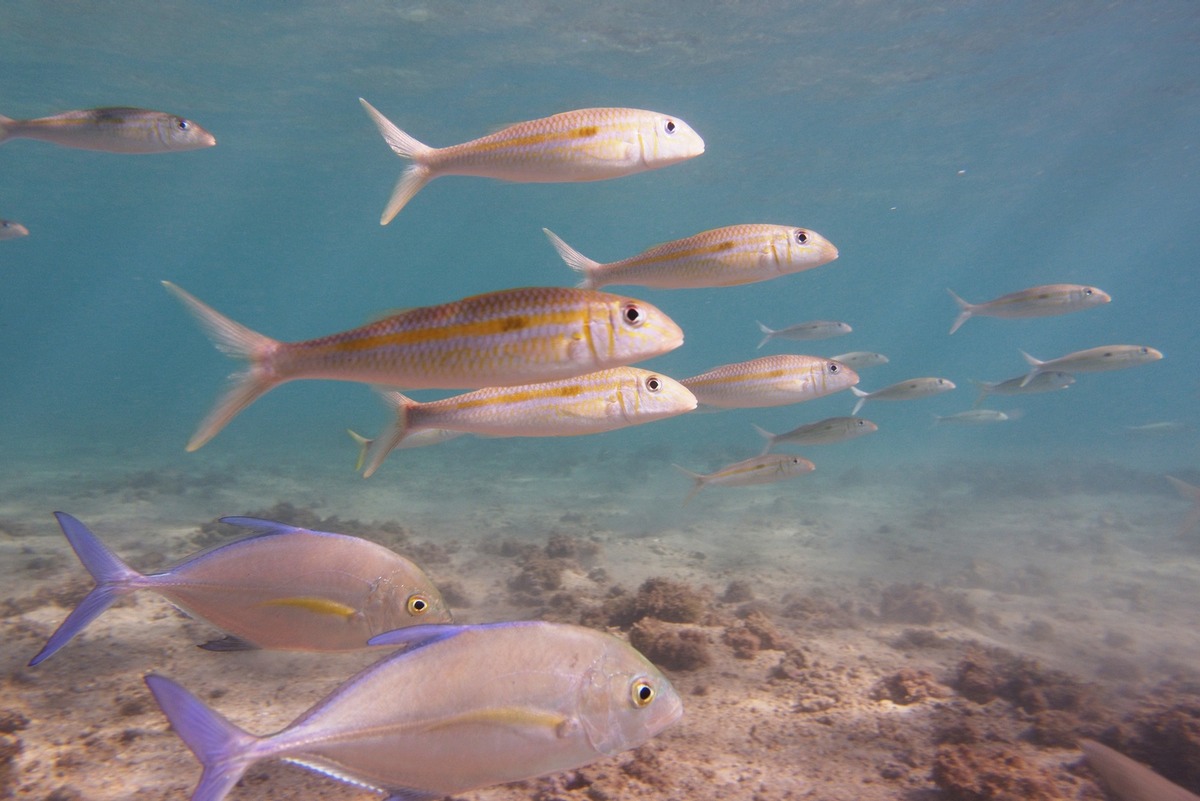
- Try to get level with the subject you’re shooting, rather than shooting from above. I learned this lesson years ago living in the Bahamas, shooting fish everyday to eat, and the same basic rule applies whether you’re shooting to with Hawaiian slings or cameras. Swim down to the same level as them, don’t shoot from floating on the surface. Getting level allows you to shoot upwards to make stronger compositions.
- Get close. Really close. It’s the same basic rule I teach a lot of people on land, but it’s critical to get really close. On land, getting closer often helps with a stronger composition, but underwater, it’s critical for light, contrast, and color, since water is nearly 800 times as dense as air.
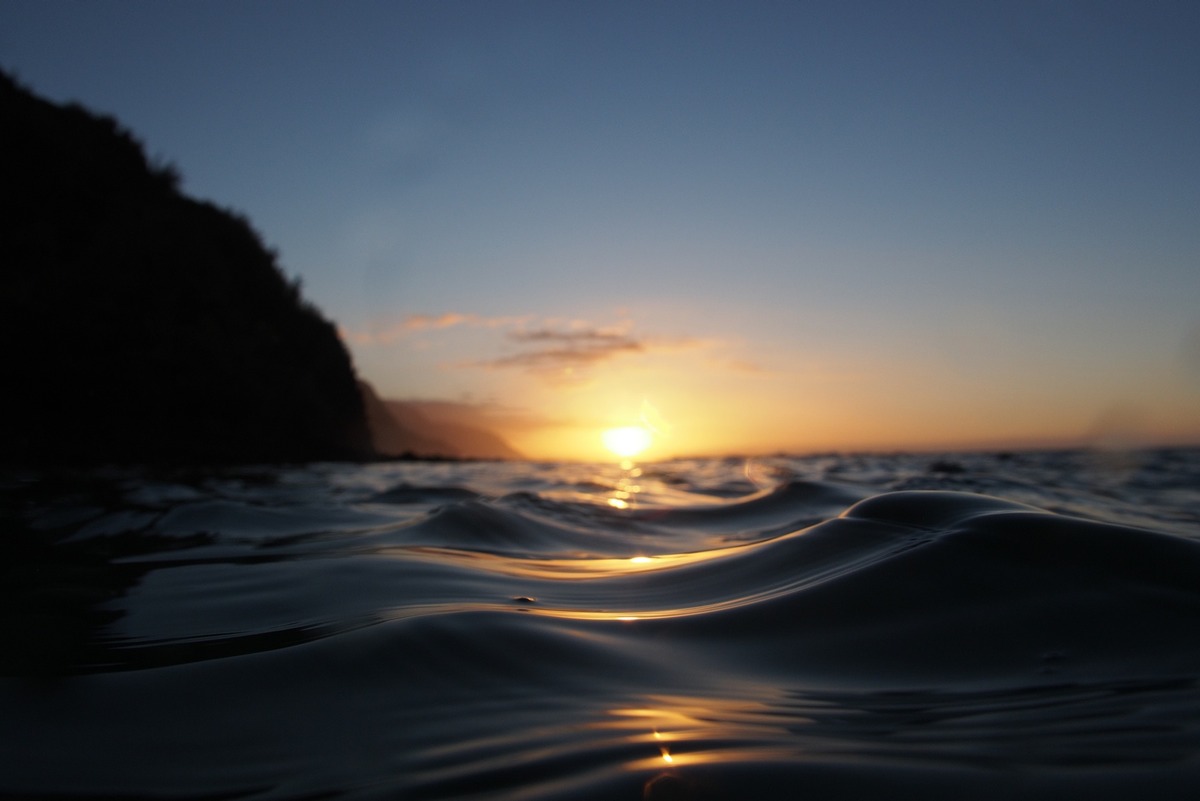
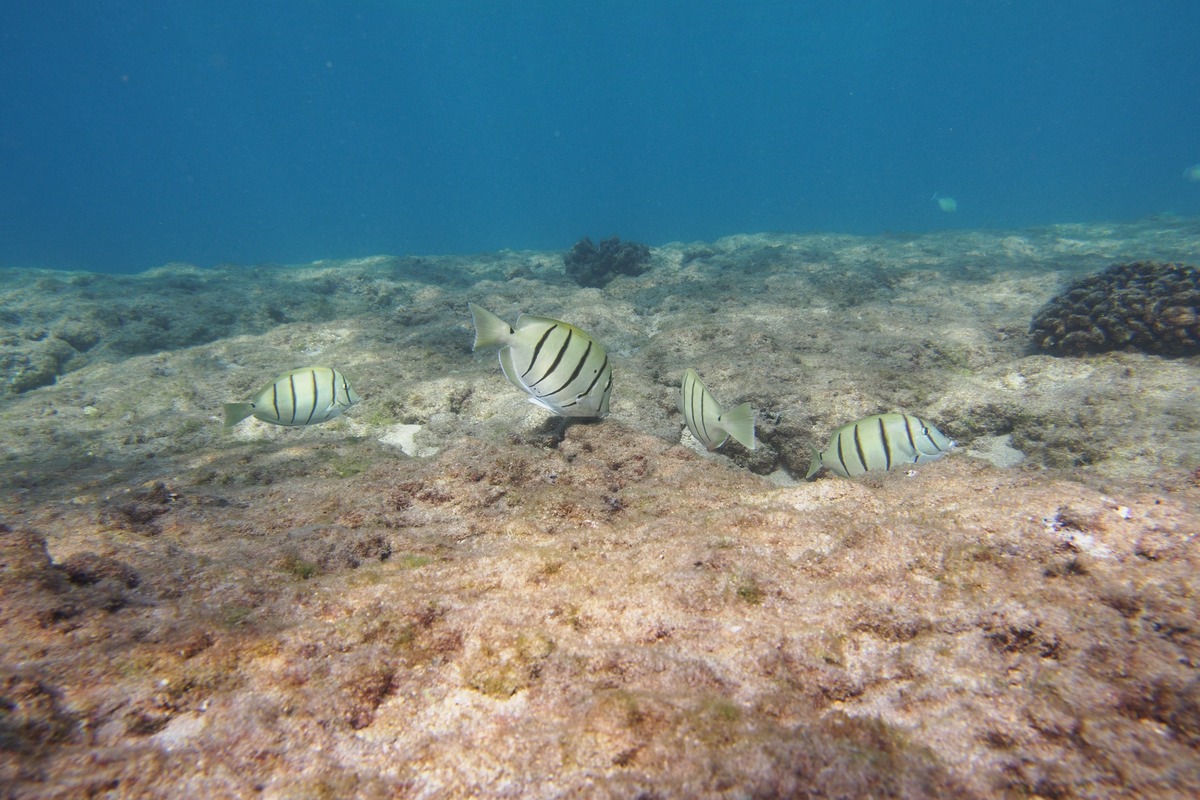
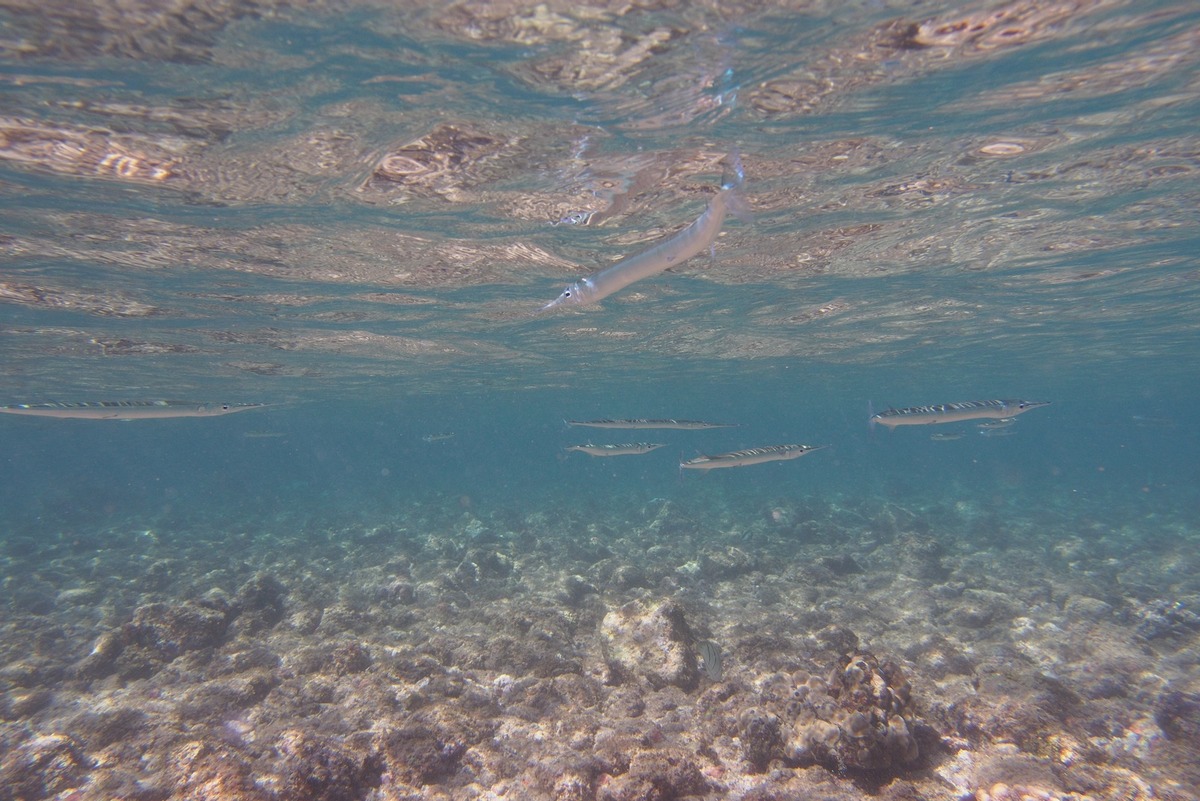
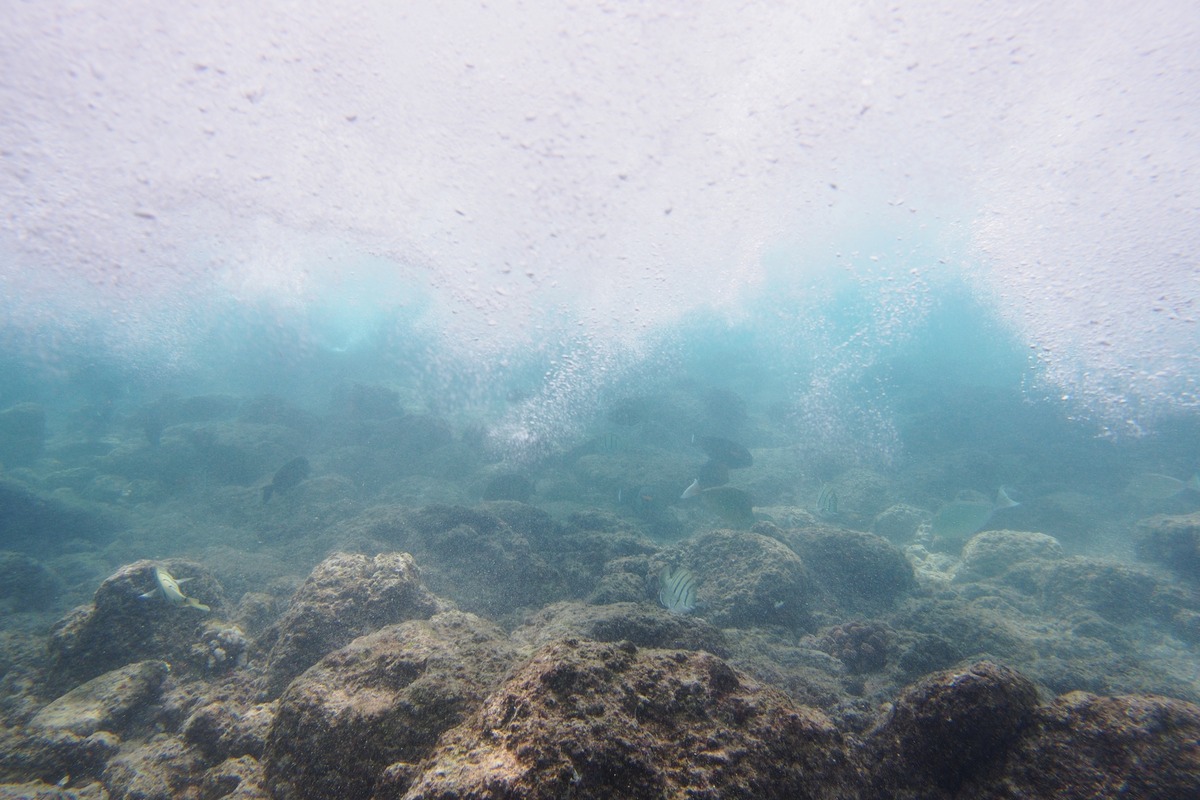
- Light and Visibility. It’s really important to have good light to shoot, since the quality of the light will have a big impact on clarity and visibility. If the water is rough, or if you’re snorkeling off the beach, there will probably be a lot of sediment in the water from the action of the waves, reducing visibility and clarity. Just pay attention to the situation you have.
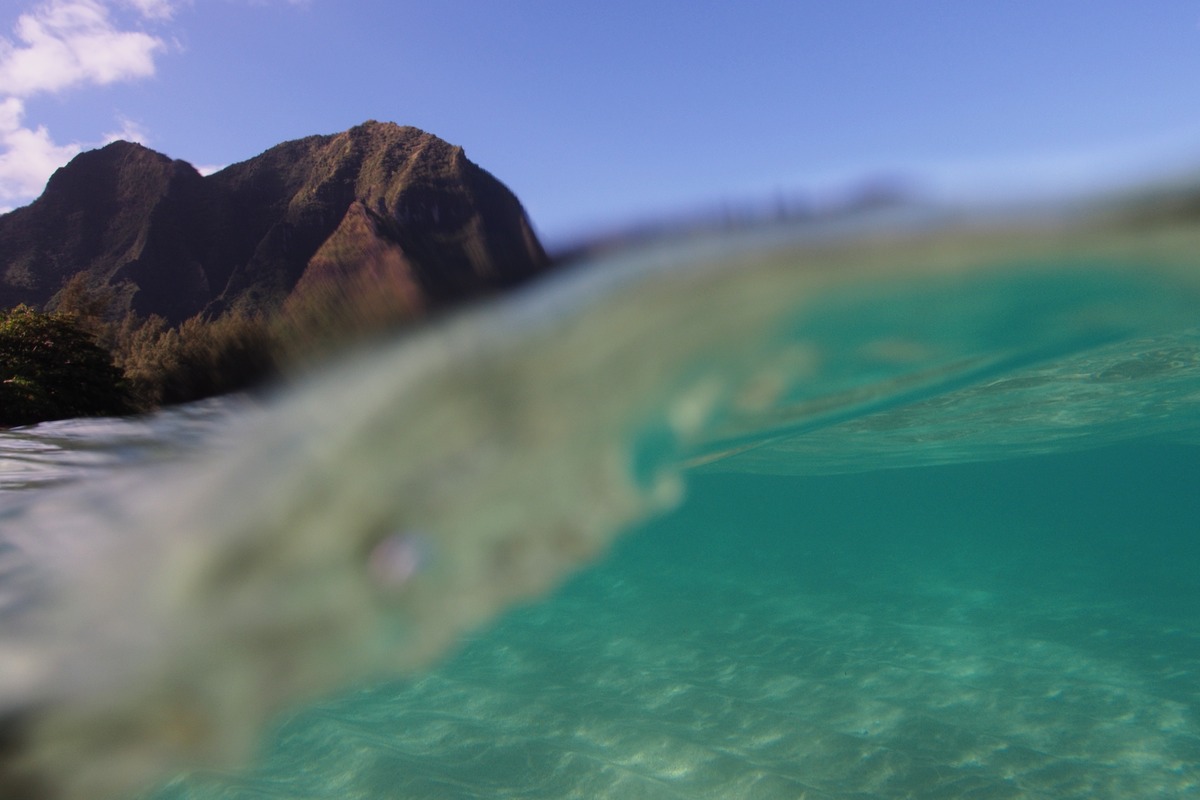
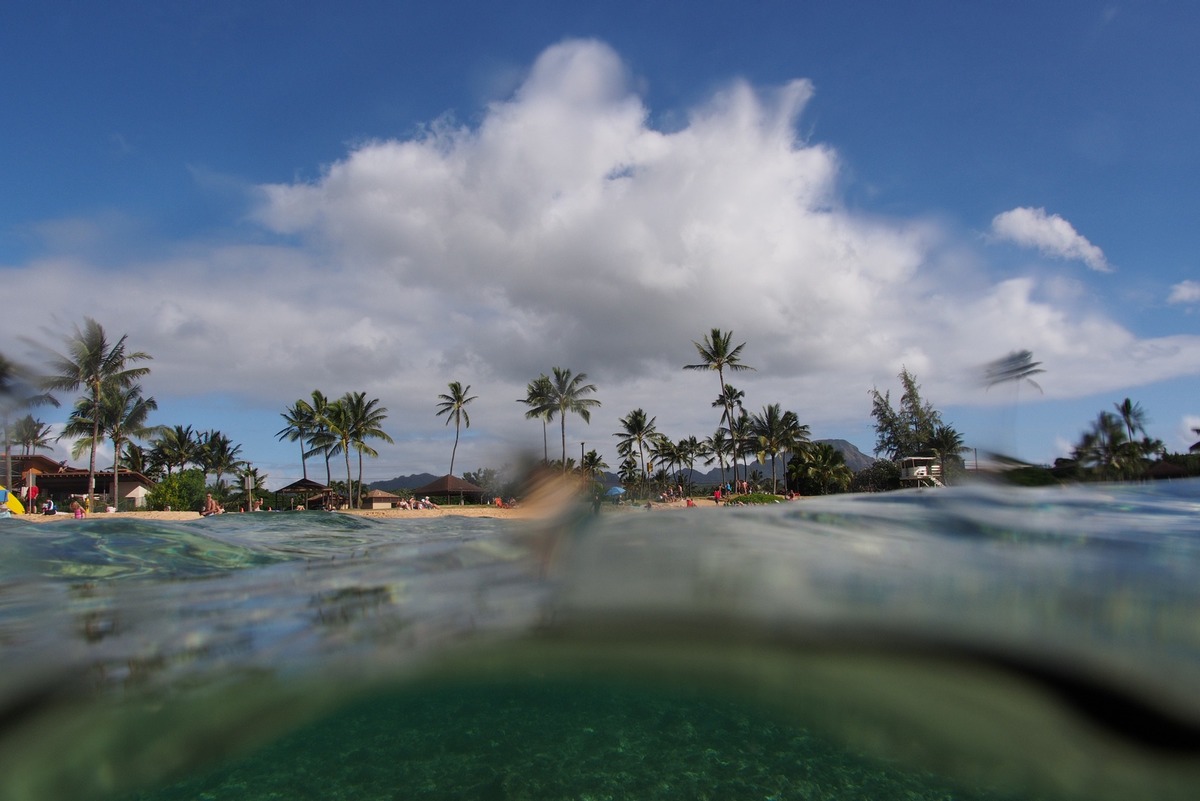
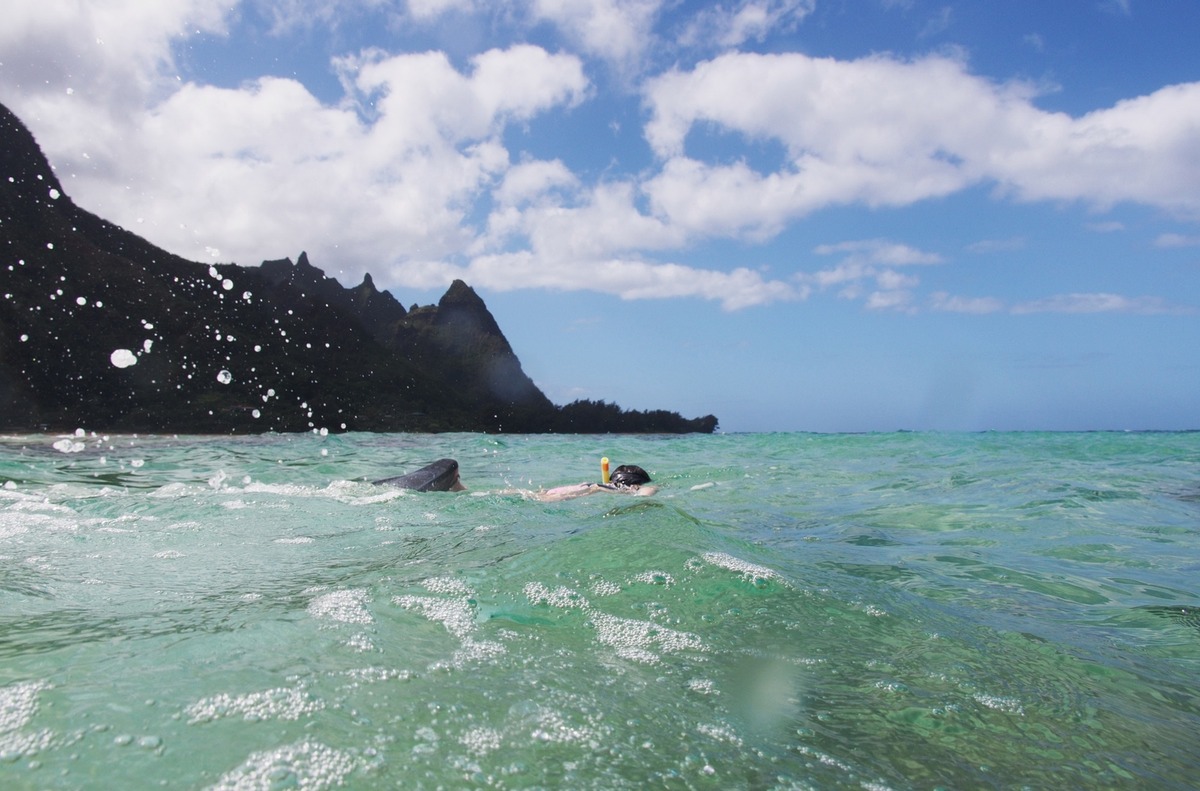
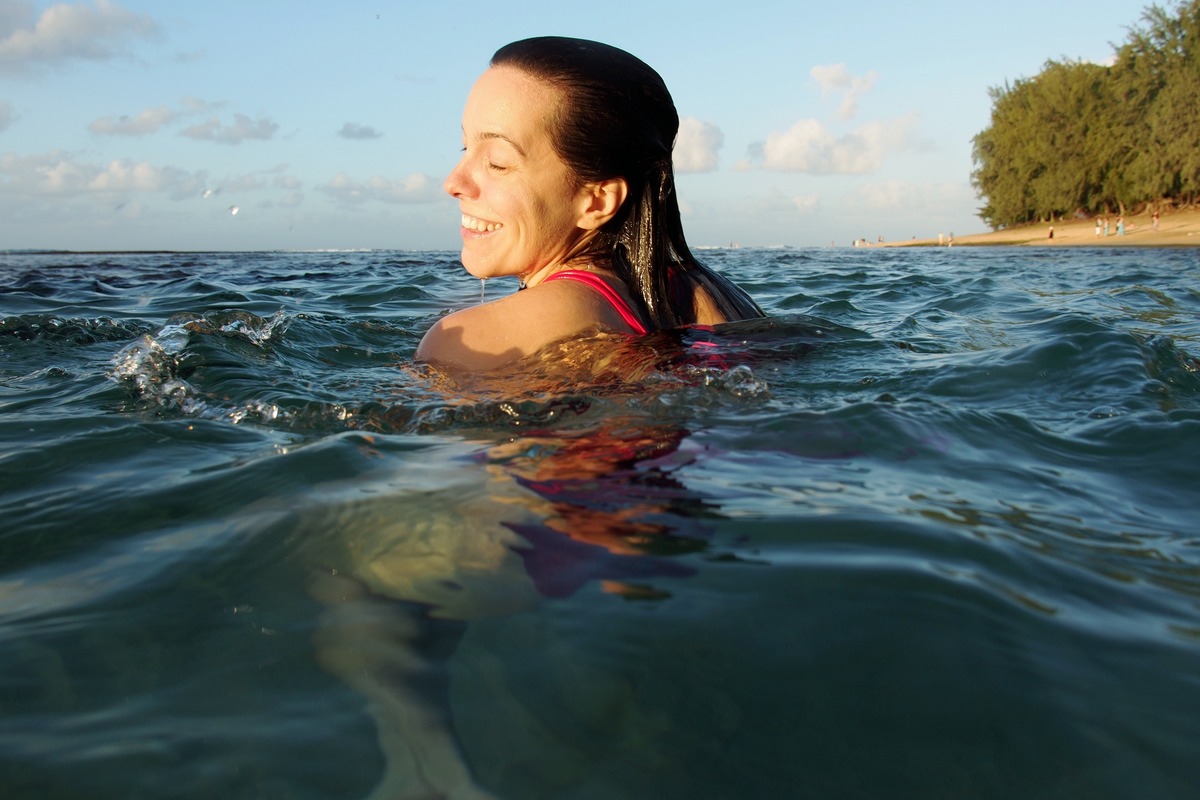
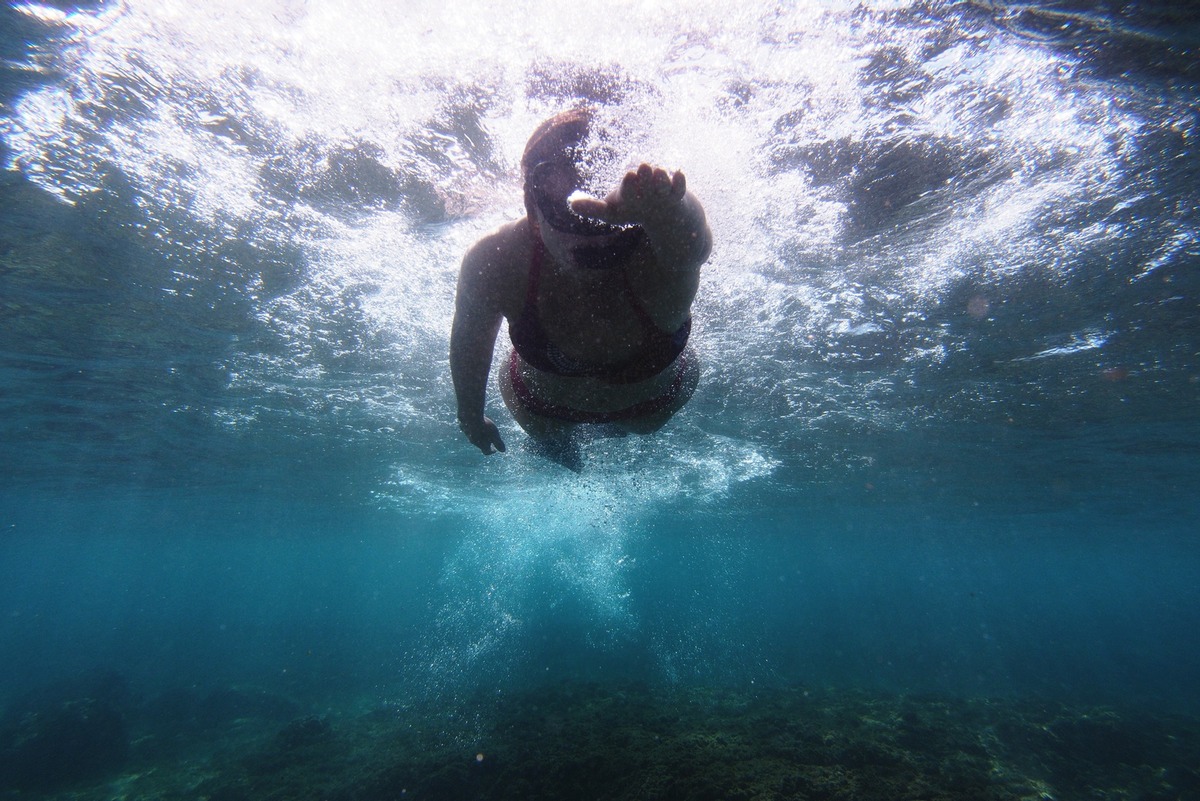
- Look out of the water. Some of the most interesting shots can come by combining water and land, so look for ways to shoot really close to the water’s surface, and perhaps combining the water and land in a frame.
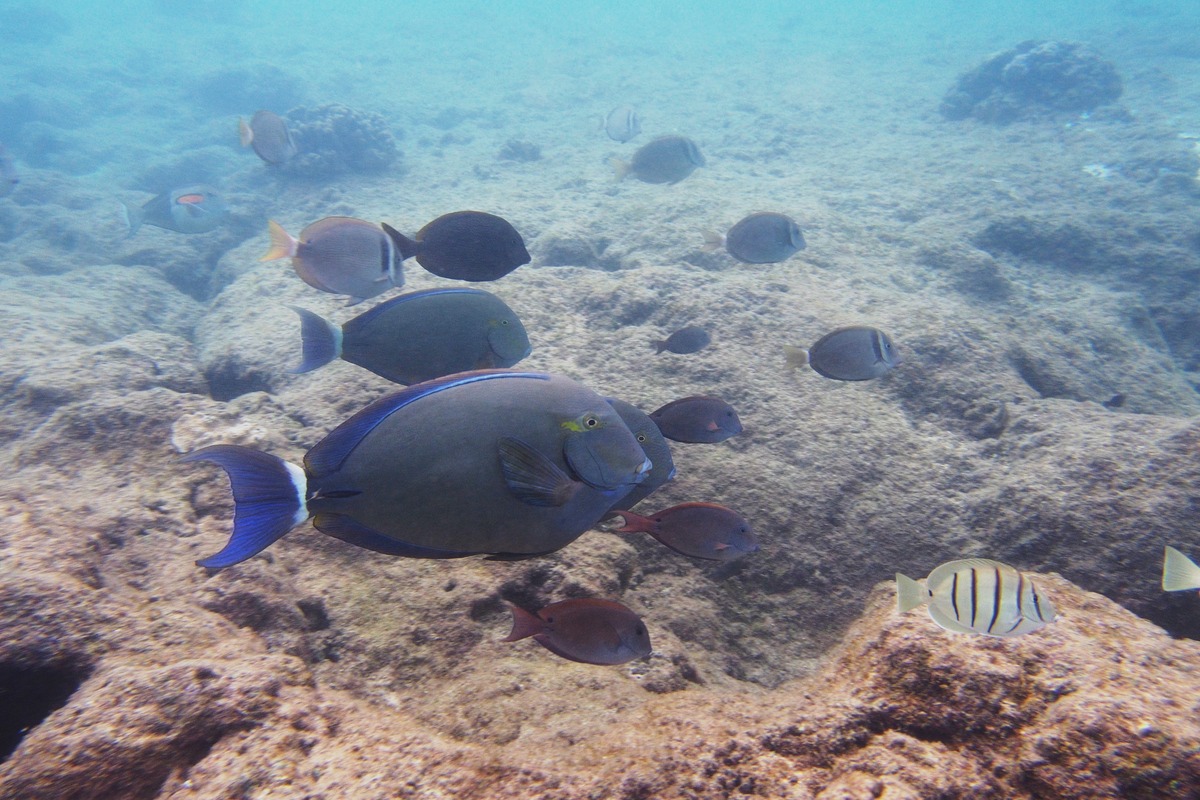
- Patience. Fish move fast, you can’t possibly move as fast as them to frame your shots. Be patient and allow them to get comfortable with you and move around you. Composition is very hard to get perfect, so stay patient, shoot wide, shoot RAW, and just try and focus on enjoying the experience. Perfect composition and exposure can come through editing.
I feel that I only scratched the surface in our time snorkeling in Hawaii, and was just starting to understand how to get shots. Here’s to needing to go back :)